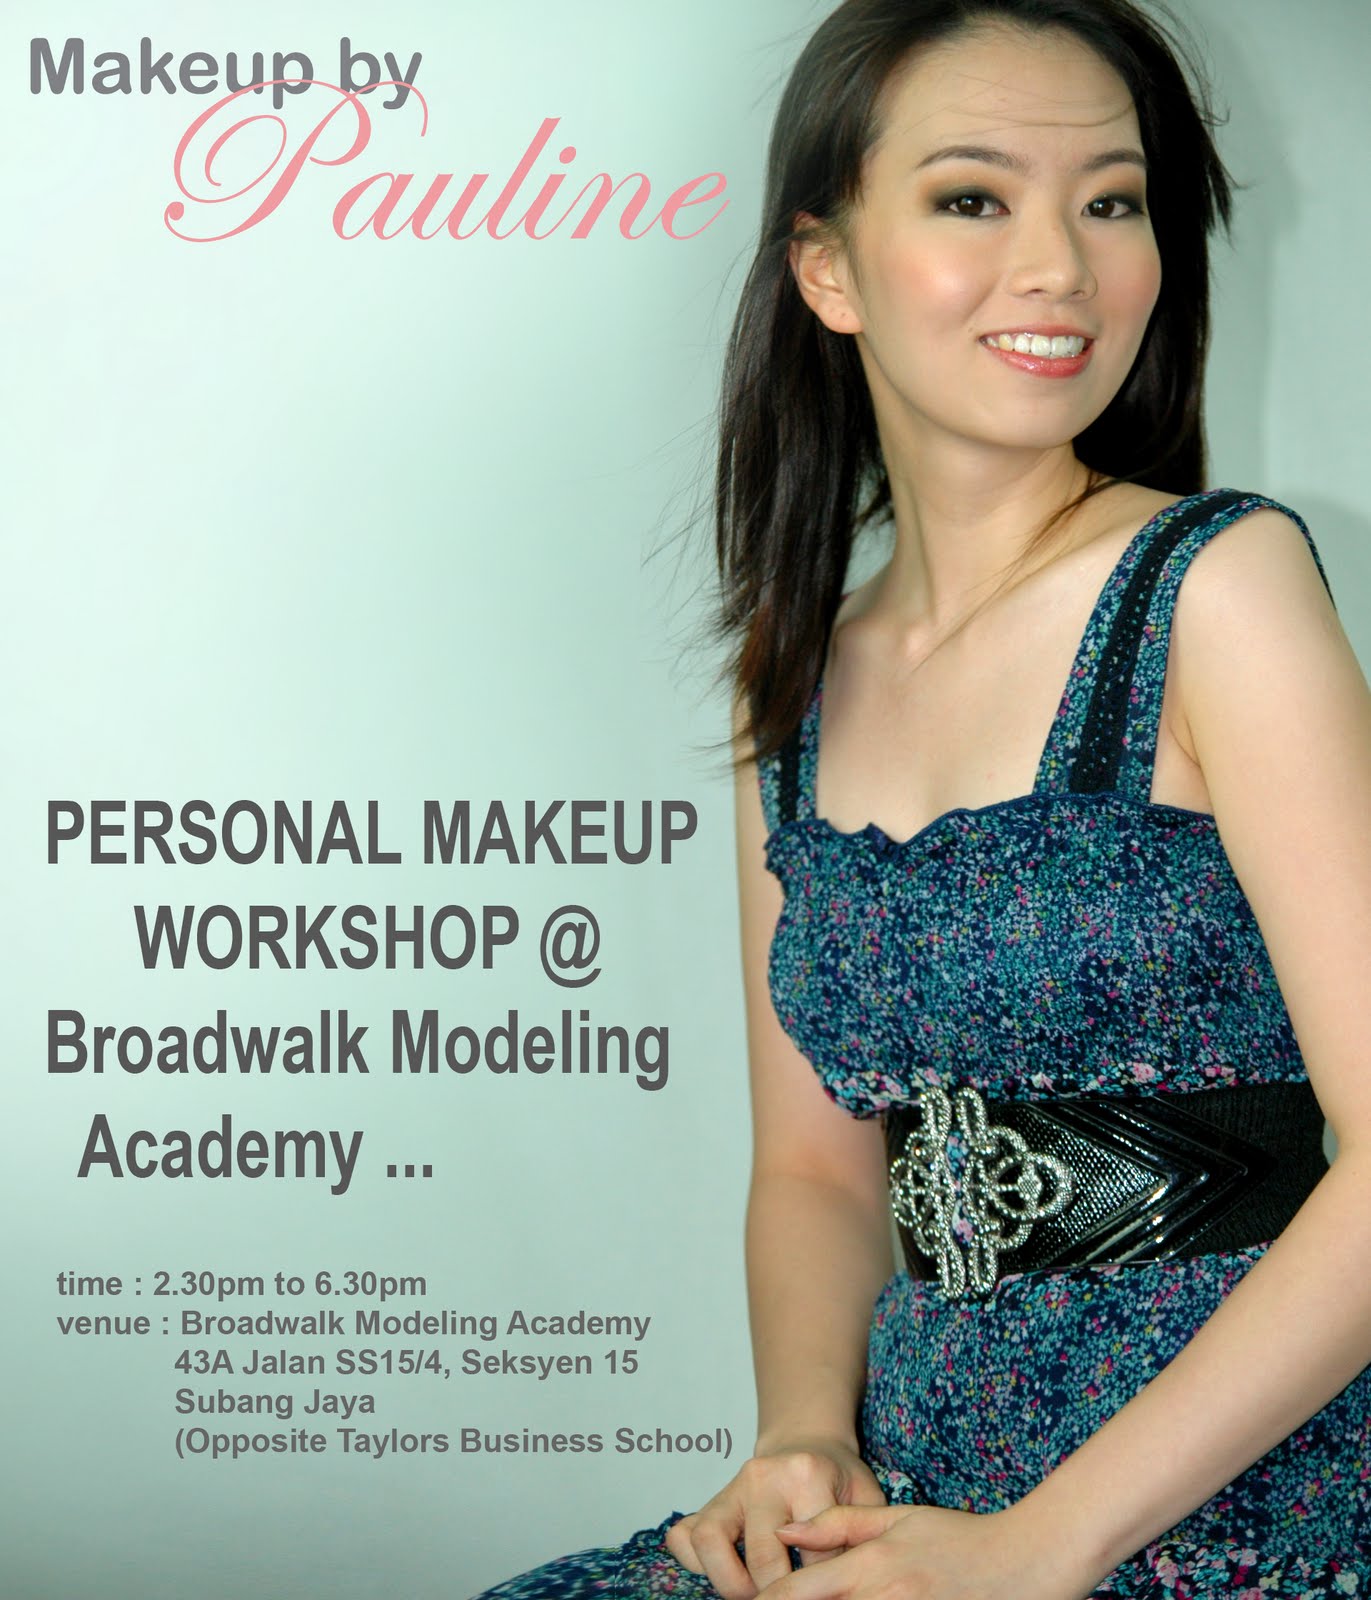
Thursday, April 18, 2013

Writing you own Wedding Vow


A friend of mine, Laverne Chee is the founder of The Wedding Project, lashes out a piece of good idea to make your big day, a special day to remember for life ...


Penning your own wedding vows is no easy task — it’s like writing poetry, public speaking and having the deepest conversation of your life all at once. Putting your promises on paper is an emotional, eye-opening and often extremely memorable experience. Up for the challenge? Here’s the homework you need to do (and the questions you should ask) to make your vows perfect.
   Get Clearance
Make sure your ceremony officiant will actually allow personalized vows. Certain celebrants and houses of worship may require you to recite a specific set of traditional vows. And remember: Even some of the most accommodating officiants will want to review your words in advance.
   Start Early
We can’t say this enough: Don’t leave writing your vows until the day before the wedding! You’ll be too nervous, excited and rattled to give them the time and thought they deserve. Give yourselves at least a month, or work on your vows in that pocket of time after you’ve set up all your major vendors and before you have to start thinking about the details. Vow writing should be done in a relaxed, not rushed, frame of mind. Some loose deadlines to aim for: Try to get a first draft together about three weeks before the wedding and have your final version completed at least two days out.
   Look to Tradition
To get inspired, start by reading traditional, by-the-book vows — from your own religion, if you practice a certain faith, but others, as well — to see what strikes a chord with you. You can incorporate these into the original words you write, or simply use them as a jumping-off point to base your personalized vows on.
   Set the Tone
Before putting pen to paper, decide what overall tone you want to achieve. Humorous but touching? Poetic and romantic? It’s your call — the most important thing is that your vows ring true and sound like they’re from your heart. One word of advice: While your vows can be lighthearted (or even hilarious), they should, in some way, acknowledge the seriousness of the commitment you’re about to make. One way to do that is to weave little jokes into traditional vows (for example: “I promise to love you, cherish you and always watch Monday Night Football with you”).
   Figure Out the Logistics
Make sure you and your fiance are both on the same page. Are you each going to write your own vows, or will you write them together? If you’re writing them separately, will you want to run them by each other before the wedding? If you’re writing them together, will they be completely different for each of you, or will you recite some of the same words and make the same promises to each other, as you would with traditional vows? If you want them to be a surprise on your wedding day, make sure you both send a copy of what you’ve written to your officiant or to one friend or family member so they can check that your vows are about the same length and similar in tone.
   Make a Vow Date
When it’s time to come up with the actual content of your vows, go out to dinner or set aside an evening at home to brainstorm. Talk about your relationship and what marriage means to each of you. Discuss what you expect from each other and the relationship. What are you most looking forward to about married life? Why did you decide to get married? What hard times have you gone through together? What have you supported each other through? What challenges do you envision in your future? What do you want to accomplish together? What makes your relationship tick? Answering these questions will help you make and keep your promises, and talking about your bond may expose your inner Wordsworth and help you come up with phrases and stories you can incorporate into your vows. 
   Schedule Some Alone Time
After chatting with your future spouse, take some self-reflection time to think about how you feel about your partner. What did you think when you first saw them? When did you realize you were in love? What do you most respect about your partner? How has your life gotten better since meeting your mate? What about them inspires you? What do you miss most about them when you’re apart? What qualities do you most admire in each other? What do you have now that you didn’t have before you met? You may be surprised how these answers may lead you to the perfect words.
   Steal Ideas
Borrow freely from poetry, books, religious and spiritual texts — even from romantic movies. Jot down words and phrases that capture your feelings. Widely recognized works ring true for a reason.
   Create an Outline
An outline can get you started by helping to establish a structure. For example, plan to first talk about how great your fiance is and then about how you work together as a couple; pause to quote your favorite writer and then go into your promises to each other.
   Remember Your Audience
Don’t make your vows so personal that they’re cryptic — or embarrassing! You’ve invited your family and friends to witness your vows in order to make your bond public, so be sure everyone feels included in the moment. That means putting a limit on inside jokes, deeply personal anecdotes and obscure nicknames or code words. 
   Time It Right
Don’t make them too long — aim for about one minute or so (it’s longer than it sounds!). Your vows are the most important element of your ceremony, but that doesn’t mean they should go on for hours. Get at the heart of what marrying this person means to you with your vows; pick the most important points and make them well. Save some thoughts for the reception toasts — and for the wedding night.
   Practice Out Loud (Seriously!)
These are words meant to be heard by a live audience, so check that they sound good when spoken. Read your vows out loud to make sure they flow easily. Watch out for tongue twisters and super-long sentences — you don’t want to get out of breath or stumble.

Laverne is ready to help couples plan their wedding and make them memorable. Get in touch with her for more information, www.theweddingproject.my

Friday, January 18, 2013

BLUSH ME NATURALLY ...


I have often receive many questions about how to apply blush the correct way. Blushing is an easy technique which requires lots of practice. Here are a few tips to bear in mind when applying blusher :

ATTAIN THAT PORCELAIN, FLAWLESS SKIN
Set that foundation right and powder your skin. In order for any colors to look great on skin, learn the technique of flawless skin to begin with. Powder will set the right texture on skin so that blusher will not appear blotchy.

THE RIGHT TOOL
Get a big, fluffy and rounded brush. The bigger and fluffier, the better. Do not use the same brush for face.

LOOK TO THE MIRROR AND SMILE
That's how you find out the apple of your cheek, that is where blusher is supposed to be.

NEVER APPLY BELOW YOUR CHEEK BONE
It will add years to your age and makes you look haggard.

CHOOSE THE CORRECT COLOR OF BLUSHER
For dull skin, look for shimmery bright color
For small face, look for shimmery bright color
For big face, look for matte and down to earth colors
For fair skin, you can choose any color of your choice, matte or shine
For dark skin, look for shimmery bright colors

TAP, TAP, TAP ...
Pick the colors with your brush little by little.  Once you have picked the colors, lightly tap your cheekbone a few times...

APPLY IN CIRCULAR MOTION
Like as if you are polishing an apple, swirl your brush in circular motions from small to big, the swift to your hairline near your ear.

Start with a light application and go heavier as you need it. I would suggest that you go layers by layers to avoid mistake.

ADD A LAYER OF FACE POWDER
This action is to diffuse the blusher so that it will look natural. Finally, check your blush in natural light, rather than fluorescent.

ADDITION TIP
Bronzer can be an alternative, to give that sun-kissed cheeks.

For more makeup techniques, write to us at www.makeupbypauline.com

Friday, December 7, 2012

How To Boost Your Confidence !

I find that simple ways like these makes a lot of difference to our confidence. There is no need to have such huge investment, it all begins with our heart of wanting to carry ourselves better.

Let's watch this video clip together and practice relearning always till it becomes our habit. Bring it on...


Thursday, February 2, 2012


Love the Spring and Romantic colours? Purples, greens and pinks? And yet don’t know how to use them?

We have a special workshop to teach you how to look fabulous this coming Valentine. Promotion for the whole month of February 2012, sign up for a Personal Makeup Workshop for Spring Romantic Makeup Style at only RM90 per pax or RM200 for a group of 3 pax.

This is a 3-hour workshop where you will learn basic skin care, how to apply foundation and look natural, step-by-step makeup application, how to put fake lashes, etc. We will provide makeup planner and notes, makeup brushes, cosmetics and mirrors.

Call  010-2002280 to book your appointment today or email to makeupbypauline@yahoo.com

Website : www.makeupbypauline.com

Tuesday, January 24, 2012

Passionate Love Tips


Looking for some great ideas to jazz up your first night as a married couple? Here is some common passionate love making tips that almost any couple can use (remember to add some spice for a night to remember) :


Passionate Love Tip # 1
Appreciate each other. You cannot have passionate sex with anyone that you cannot stand the sight of. Compliment your partner on a daily basis for little things. Men should tell women that they like their new hairstyle or pair of shoes. Women should tell men that they look good or that they have lost a few pounds off that fat tire. After all, who would want to sleep with someone if they are not sure if their partner is attracted to them?


Passionate Love Tip # 2
Smooth and scented skin suggests to your partner that you are in a great mood for love making. Spend some time to have your me-time to pamper yourself.

Passionate Love Tip # 3
Surprise your significant other. If your wife is cooking breakfast one morning, come up behind her and slowly begin nibbling her earlobe. This sudden, unexpected affection can make your loving making experience as wonderful as ever. Women can do this too. If your husband is watching a sports event on TV, sit down beside him and begin rubbing his thigh slowly. He will quickly forget that it is second and three to go, and will turn his attention towards you.

Passionate Love Tip # 4
Set the mood. Lighting scented candles around your bedroom can be a very easy way of setting the mood. Also, put on some passionate love music. Bring in a bottle of champagne with two slim glasses. You can also bring fruit into the bedroom to help arouse partners (try a bowl of cherries or chocolate covered strawberries). If you don't have fruit on hand, try just plain chocolate, nature's aphrodisiac.

Passionate Love Tip # 5
Plan your lingerie. Get a lingerie that sets your mood to being a sexy seductress. Peek-a-boo see-through babydolls works well as it plays your partner's mind to what is behind that dress. In matter of time, he can't wait to strip you to confirm his images. Plan your strip tease dance. Learn that dance moves to gyrate your body together with the sexy music.


Friday, January 13, 2012

Dark Circles and Puffy Eye Bag Rescue

Ever thought how things we can easily get from our kitchen can help solve our beauty problems? Here is the trick, as given from my great-grandmother.


Put a smooth metal spoon in a glass of ice-cube water to chill for a few seconds. Take it out and roll over your under eye area gently with it. Hold it there until the spoon is warm again. Then repeat the steps a few times.

Not only this will solve your problem, you will have fresh dewy eyes just within few seconds.

Wednesday, August 31, 2011

Beautiful thoughts from my heart ...


What makes me happy is to experience the joyous environment when I get the bride ready for her special day.


Wishing you a Happy Journey and Blissful Marriage ahead ...


Picture Courtesy from my client
See Wei Bee.

Monday, July 25, 2011

Planning make-up for your wedding day

Although planning a wedding may be exciting and fun, it can also be very overwhelming and even a little scary. I am sure you have covered every single item hundreds of times from your venue, the photographer, your beautiful dress, food, flowers, etc all these things add up to the perfection of the big day. Have you thought about your make-up and why you need a make-up artist on your special day?


Choosing the right make-up artist is also very important someone who will listen to you, someone who has been working in the wedding industry who understands the pressure of dealing with emotions running wild on that day.


Your make-up is as important as the choice of gown, accessories, and your hair as they go hand in hand, the one cannot go without the other. All that you have left of the day are the memories and photos and I am sure you want them to be as perfect as the day was.


I personally always recommend a trial so that there are no surprises on the wedding day. This will give you an idea to chat with your make-up artist and show her your ideas, theme if there is one, colours of bridesmaids dresses, flowers etc. These all aids in the design of your make-up. You will also be able to wear the make-up for the day to see how it holds or if you re-act to any products which you can discuss with your make-up artist and make changes before the big day.


Make-up should only enhance you and since you are going to be photographed / or videotaped you want to make sure you look good. Make-up will help with that since the lighting / flash of the camera tends to wash people out. Make-up artist use photochromic make-up to ensure you achieve true colours in the photographs and videos, this will ensure that you will not have a ghostlike appearance on your photos.


Till our next chat.


Articles by Cicilia Kaufmann of ckmakeup.com
Photo curtesy by Cicilia Kaufman

Monday, March 1, 2010

Feeling Good Tips

Ever notice how it sucks when your favourite guy from your workplace ask you out unexpectedly, especially on the days when your skin is at the lousiest peak of the month. Ugghhhh...!!!


Being a makeover artist, I am often being asked this question. Here is my advice:

Prepare yourself a few hours in advance
. Prep your skin well before having your makeup on. This helps makeup stays fresher for a longer time. Do a thorough skin care regime that includes cleansing, exfoliating, masking, toning and moisturizing.

Cover ups. Concealer, foundation and powder foundation is all you need. I love this makeup trick - mixing 'yellow' concealer from Mary Kay with the liquid foundation. It gives the natural color of asian glow and provides good coverage. It is also easy to blend especially for beginners. Just dust off with mineral powder foundation from Mary Kay.

Just add colors. A light stroke of blush and eyeliner with a layer of mascara, you are all set to capture his heart.

Scent. Boost your self confidence with your favourite fragrance. You might want to be careful with the amount of fragrance as during this time of the month your sense of smell is less sensitive. You may not want to drown your date with overdose perfume.

Add that sparkle. If you happen to have a spot on your face, draw the attention away by donning jewels that sparkles at the neck or at the wrist. If you are adventurous enough, wear plunging necklines, drape some long sparkles that plunges into your cleavage.

Personal Make-up Workshop


Ever thought of how those supermodels look so stunning? Well, without make-up, the right grooming, right way of posing, they are just like any other ordinary next door girl.

We are giving you a chance to feel walking in their shoes, more so that you can see yourself being transformed in just a couple of hours under the right coaching. Hurry up and sign up for this step-by-step Makeup Workshop. You’ll get the chance of applying your own makeup with our guidance.

Workshop fees RM80 per pax. Bring your girlfriend along and enjoy a discount of RM28! (limited to 1 friend only).
It is fun to be a girl ...


Words from the participant :
"It was a fun and educational afternoon out with my girlfriends. We learnt the right way to make-up, to bring out our best features. The cosmetics provided was good as well. Now, we can't wait to look good everyday."

Loo Kar May, 20, Student

For more information on the coming workshops, please call Pauline at 010-2002280.

Tuesday, February 2, 2010

Looking Fab in Black

-->
Love wearing black top or blouse and yet don’t want to look washed out? This is an image trick that you can use to complement with the dark color. Cover your eyelid with neutral eye color. Then line your top lashline with black liquid eyeliner. I love Mary Kay Liquid Eyeliner, intense black, felt tip applicator makes it so easy to apply. You can winged it out for that sexier look. Curl and coat your lashes with layers of lengthening mascara. Lastly, put on a coat of bright red lipstick with gloss. Voila!!! You are ready to command attention from this new look.

To get Mary Kay's cosmetics, please contact me at 010-2002280.

Friday, November 13, 2009

Welcome to makeup by pauline beauty tips and tutorial page,
... we are passionate in making you feel beautiful.


Thursday, November 12, 2009

Solution to sensitive skin

Hi, I am back again after my long holiday, had my rest and now getting back to where I had left... feeling rejuvenated and full of ideas to share.


A few weeks of absence, I had people writing into the beauty questions. Here is one that urgently needed my advice and I feel I should share this with everyone too.


My skin peels and it feels a burning sensation when I remove my makeup after a whole day under foundation. Is something wrong with my skin or my foundation?

Now that I have uneven patches all over my skin, I have to use a stronger coverage.

Please tell me what I should do? … Sandy, 23


Sandy, I feel so sorry that your skin reacts to foundation that way. Your skin is being attacked by the strong harmful chemicals in your foundation that you are using for few hours. Then it is further aggravated by the makeup remover you are using.


First, stop using both the foundation and the makeup remover. Dump them to the bin.


Next, you may want to consider changing your foundation to a something less harsh. Get a dermatologist to check on your skin condition and probably she may advice you on certain products of foundation.


Give your skin a few weeks of break and time to recover. Meanwhile, go check out the net for foundations for sensitive skin. Tip : Go for water based foundation.


After your skin had recovered, here are the steps to protect your skin from further damaging.


Protect your skin before makeup. Invest into some good skin care or makeup base that is vitamin enriched. Try out Bobbi Brown Vitamin E enriched Face Base. Remember to tone your skin before the base.


Use the recommended foundation for sensitive skin. Use foundation brush for a more hygienic application. Foundation brush application is less likely to push the foundation into your pores. Apply using downward strokes. Immediately was you brush clean and not let any foundation sediments linger around to attract bacteria to inhibit in your brush.


When removing makeup, opt for something more natural. Go for Organic Extra Virgin Olive Oil as your makeup remover. It is gentle on the skin, removes makeup efficiently (even good for mascara remover), it moisturizes the skin without clogging the pores. Best of all, it is inexpensive and readily available at any convenience stores or supermarket.

Tuesday, November 3, 2009

How to Use Under Eye Concealer?

Is it better to use your finger to apply under eye concealer? Yes, personally I prefer using finger. That way you can control your pressure and not drag the delicate skin under your eye area.

Moisturize the area well and allow 5 minutes for the moisture to absorb. Lightly tap around the under eye area to improve blood circulation.

This is how you do it. Squeeze a small portion of concealer at your ring finger tip (I love to mix Mary Kay yellow concealer to the foundation of your skin colour. That way it blends into your skin so perfectly). Lightly go over the under eye area and spread thinly. Your finger will warm the concealer as you tap and blend them well into your skin. Lightly brush over with loose powder to set the concealer. Why loose powder? Because it is light weight enough so that it will not amplify the fine lines at the under eye area. Isn't that easy?

To try out Mary Kay products, please call
010-2002280

Sunday, November 1, 2009

A day in a life of a Bridal Makeup Artist

3.00am
Buzzzzzzzz..... The alarm clock blares off! Ahhh... I need a just a little more time to myself so I snooze off for another 5 minutes. Grrriiinnnnnggggg.... Thank God I have another alarm that is near the toilet. It sorts of forces me out of my bed and to the toilet to start my day. I am not gonna tell you what I do here...


3.15am
My morning devotion. I thank the Lord for this happy day to look forward to, another beautiful face to smile upon. I ask the Lord to guide me to a safe journey for my work early this morning. I ask the Lord for a smooth sailing day today.


3.40am
Preparing my healthy breakfast. Easy to prepare, healthy and my favourite. A palmful of oats cooked with milk and add in honey in my favourite green bowl. A warm milo in my favourite cup. Pop in a tablet of multi-vitamin for some positive boost of energy.


4.00am
Time for me to look beautiful. Slap on some simple makeup, tidy up my hair. dress up. Time for me to do the final check to make sure that I have not forgotten any single thing. Load the makeup cases to the car.


4.20am
Got my map ready (printed out from Google maps a few days before), set address to my GPS, got my car warm up and say a little prayer. Then I sms to my client to give her a morning call and to wish her good morning. Turned on the radio. I love to start my day with a song in my heart. Took a slow drive, with a thanksgiving heart for a smooth day.


4.50am
Reached the brides house. No problem in looking for her house. Waited at the car till 5.00am.


5.00am
Greet the bride and set up my makeup tools. My mission to make her the most beautiful bride begins ...


5.15am
Prep her skin, getting her ready for makeup. Before that, I have got her permission to take her picture before the makeover. She gladly oblidge to my request. Thank you so much, Xing Huiy.


7.45am

She is all set, makeup and hair done up. She is looking so radiant and excited waiting for her husband to be to greet her.

Tuesday, August 18, 2009

Beauty Tips ...

Is it better to use your finger to apply the under eye concealer? Yes. Use a cotton bud to pick up the creamy concealer from the tub. Lightly go over the under eye area with gentle care. Your finger will warm the creamy concealer as you tap and blend them well into your skin. Lightly brush over with loose powder to set the concealer.

Saturday, July 18, 2009

How To Have Kissable Baby Soft Lips...

A good pair of soft baby lips will greatly attribute to that radiant glow on your big day. Here are some good tips to help you prepare your lips a few weeks in advance. Also learn up some makeup tips to help you achieve that kissable lips.

Exfoliating and Lip Care

Apply on your lips generously with Vaseline and let it soak on your lips for full 5 minutes. Purse your lips every minute to speed up the softening.

Gently wipe off the excess Vaseline away from your lips.

Brush your lips gently using a baby toothbrush with a little face wash or face cleanser in small circular motion. This massaging effect will help remove dead skin and stimulate blood circulation to plump them naturally. Remember to massage around the lip line area too. Rince with warm water.

Then, dry your lips and apply a thin layer of Vaseline to keep them moist. This will prevent cracking.

Do this every alternate days to maintain the softness of your lips.


Makeup Tricks to a Plumper Sexy Lips

A moisturized lips is a good canvas to begin with. Follow the steps above for a week or two before your big day. That way, any peelings or bruises should heal by now.

When applying foundation, cover your lip line a little. Powder very lightly over your lips.

Select a lip pencil that is closest to your natural lip color, slightly brighter than your lips. Lightly trace the outline of your lips. when you reach the heart shaped arch at the centre of your lips, instead of drawing a sharp edge, soften the edge with rounder shape. Use Q-tip to lightly soften the line so that it doesn't look harsh and artificial.

Fill your lips with a lip color of your choice, preferably creamy lip color.

Now the tricky part is here. Get a lip color of the same color with 2 shades lighter. Fill up the centre of your lip area, both upper lip and lower lip. Blend the colors well so that you will not see the two separate colors.

Finish off with a high gloss with shimmers to give you the full, plump and juicy lips.


More tips on lip care...

avoid licking your lips every now and then. Saliva will dry your lips more than it can help you smoothen. Becoming more aware of this habit can help you stop.

drink lots of water! It helps hydrates the lips (and skin in general, for that matter.)

to create the appearance of fuller lips, use a teeth whitener to create a dazzling white smile. White makes things look larger and stands out to attract.

use highlighter lightly brushed at your T-Zone area and cheekbone area, will give the illusion of youthful baby look.

practice lip pouting in front of mirror, when nobody is looking.

Tuesday, July 7, 2009

Hiring a Professional Makeup Artist

If the idea of putting on eyeliner makes your hand shake, you may want to hire a pro to do your makeup. Here's how.

If you're not much of a makeup person -- and even if you are -- you should think about hiring a makeup artist for your wedding day. A pro can give you picture-appropriate makeup that stays put. Here are some tips for seeking out someone to help you look big-day beautiful.

Finding One

  • Ask your friends. Nothing beats word of mouth when it comes to finding true talent, especially in the world of weddings. Get recommendations from your friends especially those who has just recently got married. If you like her look on her wedding day, you should try to contact her makeup artist.
  • Check out department stores. Talk to beauty consultants at cosmetics counters and pay attention to how their own makeup looks; let the ones you feel comfortable with give you a makeover (it's free!). Explain that you're shopping for your wedding-day face, and if you're happy with the results, ask if they make house calls or if they'll schedule time for you to come to the store the day of your wedding.
  • Search from the net to get names of makeup artists in your area. Or make a list of beauty salons and call around to see if they offer makeup services.
  • Ask your photographer. Most photographers have worked with makeup artists and can recommend some good ones.
  • Be sure to check out their portfolios and their past credentials. Those with wider experiences are definitely far better than those newcomers in the market (as they tend to take you as a guinea pig while gaining experience).


Working With One

  • Insist on a trial makeup. Keep in mind that your wedding is not the time to start experimenting. Trial makeups allow you to first test out the makeup artist, second to discuss the idea of look you want for your wedding. The makeup artist may even suggest a few other ideas (from his/her professional perspective) that you may want to try out too.
  • Arrange to go for the trial makeup with a girlfriend of yours, so that she can give you an honest opinion.
  • Collect pictures from magazines to show the makeup artist so he or she can get an idea of the look you're going for.
  • Schedule trial runs before your prewedding parties or other special events (friends' weddings, class reunions, etc.). Some makeup artists do charge you for these practice sessions -- so find a crowd to wow!
  • Take a close look at yourself a few hours after a trial makeover to check how the makeup wears on your skin. Does it last or fade away? Note any color changes or allergic reactions. Report to him/her the next day itself so that the makeup artist will have some time to find solution to your problems.
  • Find out if the makeup artists charge a higher fee to come to your home. See if they also expect you to pay their travel expenses. Check out other hidden expenses too (don't be shy to ask the makeup artist).
  • Finally, plan with the makeup artist on the program for your wedding day.

Tips
: After each makeover, have someone take your picture. What looks great in the mirror doesn't always look right on film, and vice-versa. The photographs will also help you remember what you liked -- and didn't like -- about each application.

Saturday, July 4, 2009

Wedding Photo Tips

Weddings provide plenty of opportunities for candid moments. Here are some ways you can get great shots of this special day.

=


Be Creative with a Tilt

Photo by Leslie Patopoff


For this image the photographer tilted the camera to put the focus on the little boy being led by his sister. By not showing much of the sister, Leslie avoided pulling attention from the main subject.


Start Early

Photo by Heather Melzer


Some of the best shots come before an event even starts. For weddings, shooting the bridal party’s preparation, as in this photo, can yield both fun and meaningful photos.


Watch for Unplanned Shots


Photo by Jen Lessinger

Be on the lookout for unexpected moments during an event. Here, the photographer caught interaction between the bride’s and groom’s fathers, who were oblivious to her as they chatted.


Capture Candids

Designed by Christina Schmidhofer

Keep your camera clicking to document the unplanned moments. Guests and kids especially are enjoying the day, and you'll get some extra special shots with minimum effort.


Be In Position


Photo by Greg Scheidemann


Be sure to capture the happy couple as they make their grand entrance. Find out where they will be entering the reception site and position yourself so you can get a clear shot of the smiling couple.


Friday, July 3, 2009

Chinese Tradition of Tea Ceremony


In this modern times, the tea ceremony has become the most significant event everyone (including the old relatives) is looking forward to. The bride and groom are formally introduced to each other's family through the tea ceremony, which is carried through on the wedding day itself.

Normally, tea is boiled with dried longan, lotus seeds, red dates and is lightly sweetened. Lotus seeds and two red dates are used in the tea for two reasons. First, the words “lotus” and “year,” “seed” and “child,” and “date” and “early,” are homophones, i.e. they have the same sound but different meanings in Chinese. Secondly, the ancient Chinese believed that putting these items in the tea would help the newlyweds produce children early in their marriage and every year, which would ensure many grandchildren for their parents. Also, the sweetness of the special tea is a wish for sweet relations between the bride and her new family.

Serving the Tea:

On the wedding day, the bride serves tea (holding the teacup with both hands) to her parents at home before the groom arrives. She does this as a gesture of respect and to thank her parents for raising her. The tea at this time does not need to have the lotus seeds or dates. She pours and serves the tea before the groom arrives. During this time, the parents usually gives her their precious advice preparing her into her new life. Most often, this may get a little emotional.

Traditionally, after picking up the bride from her parents and the wedding ceremony, the newlyweds serve tea (holding the teacups with both hands), inviting the groom's elders to drink tea by addressing them by formal title, e.g. first uncle or third aunt.

The general rule is to have the woman on the left side and the man on the right side. The people being served will sit in chairs, while the bride and groom kneel. For example, when the newlyweds serve tea to the groom’s parents, the bride would kneel in front of her father-in-law, while the groom would kneels in front of his mother.

The newlyweds serve tea in order, starting with the groom’s parents then proceeding from the oldest family members to the youngest, e.g. the groom’s parents, then his paternal grandparents, then his maternal grandparents, then his oldest uncles and aunts, and all the way to his older brother.

For more information about Chinese Traditional Wedding, visit http://www.chinese-wedding-guide.com, a website dedicated to preserving chinese wedding customs and culture.